THE EASIEST AT-HOME MANICURE USING MANIME’S CUSTOM FIT STICK-ON GELS
/I’ve been a nail polish junkie for as long as I can remember. I kid you not, I have over 60 nail polishes. Although I have many, many colors to choose from, I still manage to grab these nail polish stickers (also known as nail wraps) more than my regular nail polish. Now let me be specific, I’ve tried a few nail polish stickers. The ones at the drugstore, although they’re cute, they weren’t the right size whatsoever. They were either too wide, too narrow, or just the wrong shape. They also didn’t last long.
I love a good nail design, but I’m simply not a nail artist. So I usually just go for a solid color, or a very simple design when painting my own nails. Although I always want a fun design, I don’t want to spend $242688 on my nails. And to be honest, I don’t really love getting my nails done at the salon. I’ve always been one to do my own nails.
Well, my nail game completely changed when I discovered a new nail brand ManiMe. They are a nail brand that has custom-fit stick-on gels that are specifically made for your nails and fit your nails perfectly. Technology is an amazing thing and what ManiMe has been able to do is so incredible! We’re not going to get into the technology, but let’s just say they somehow figured out how to print your stick-on gel mani to fit exactly your nail size and shape. Genius, if I do say so myself.
The process is extremely easy! You just have to create an account and submit photos of your nails. Honestly, the hardest part is choosing a color and/or pattern. Yes! They do have many many solid colors to choose from. Obsessed is an understatement.
New customers code: SWEATINSD for 20% off // Return customers code: SWEATINSD10 for 10% off
Photo credit: @nailsthatmatch
The process to place them on is extremely easy and I’ve learned a thing or two after 5 sets to really make the mani last at least 2 weeks. Yes, you read that right. Each mani has lasted me over 2 weeks. Although, I should mention ManiMe states that they last at least 10 days. My first mani were these pink moon nails below and after each mani set, my application got better and better. The key is to really press down to ensure they stick on.
How to apply ManiMe custom fit stick-on gels + tips & tricks:
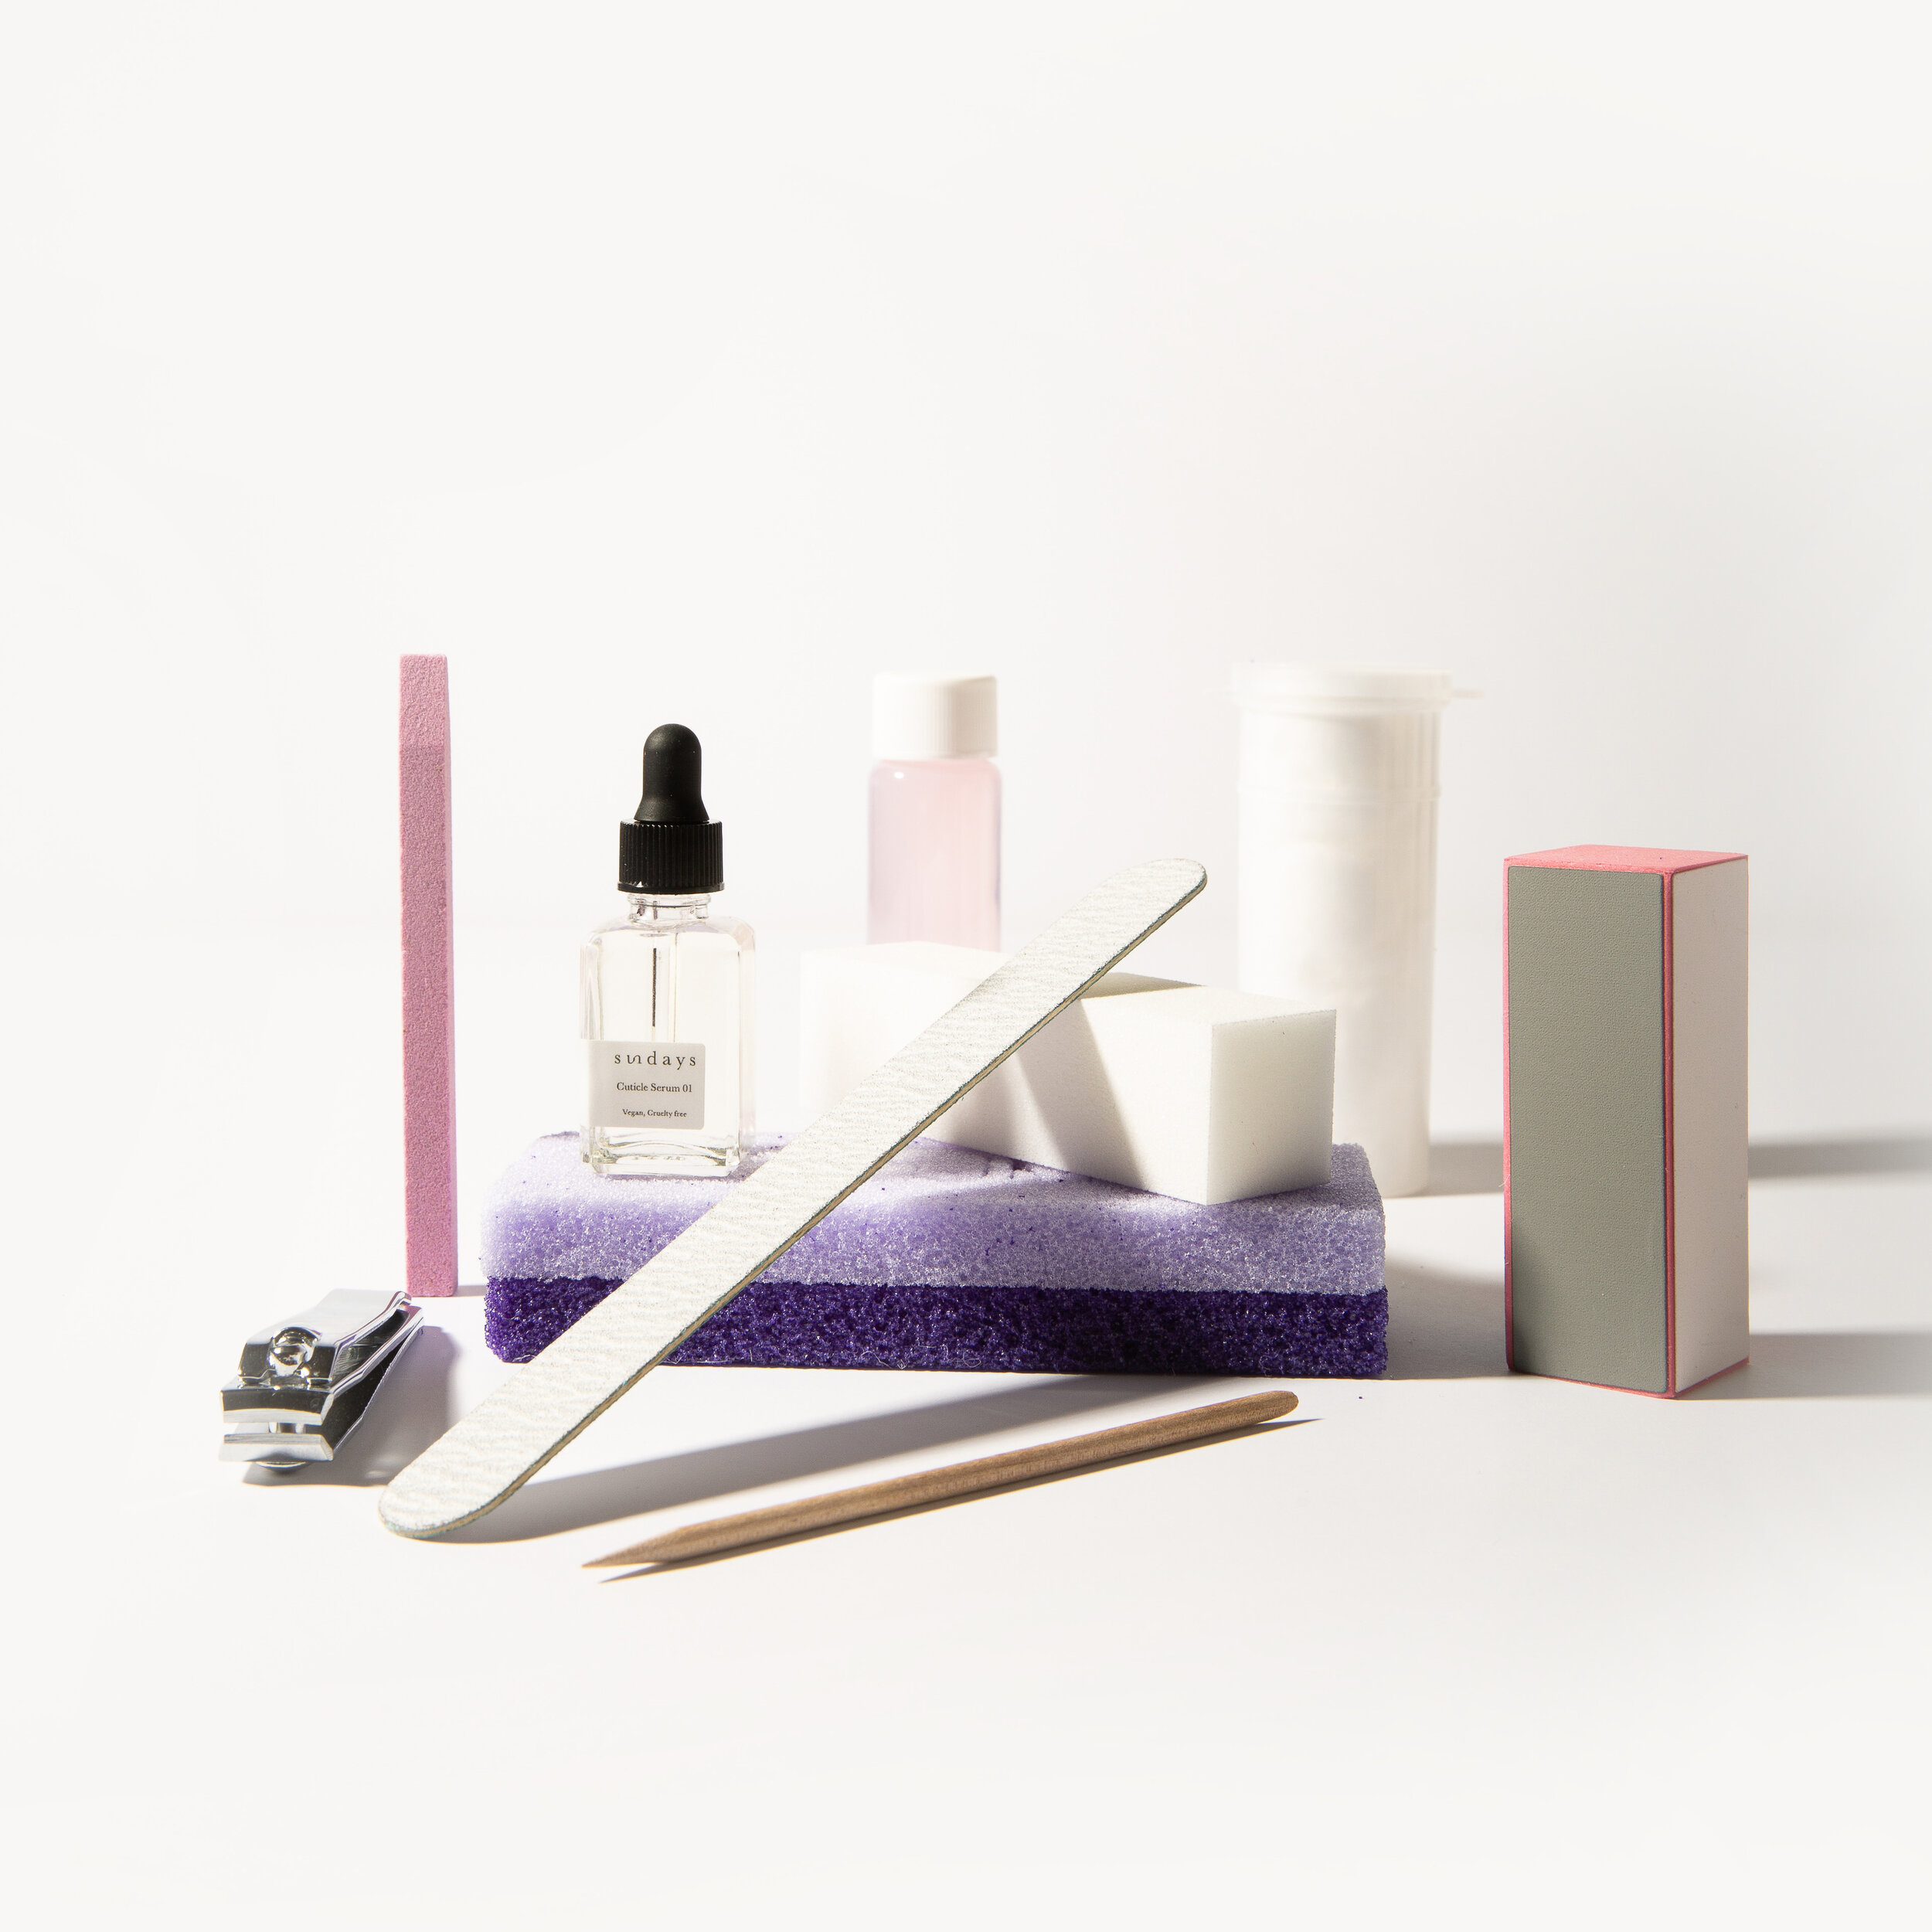
File nails to your desired shape and wash hands with soap and water and let dry.
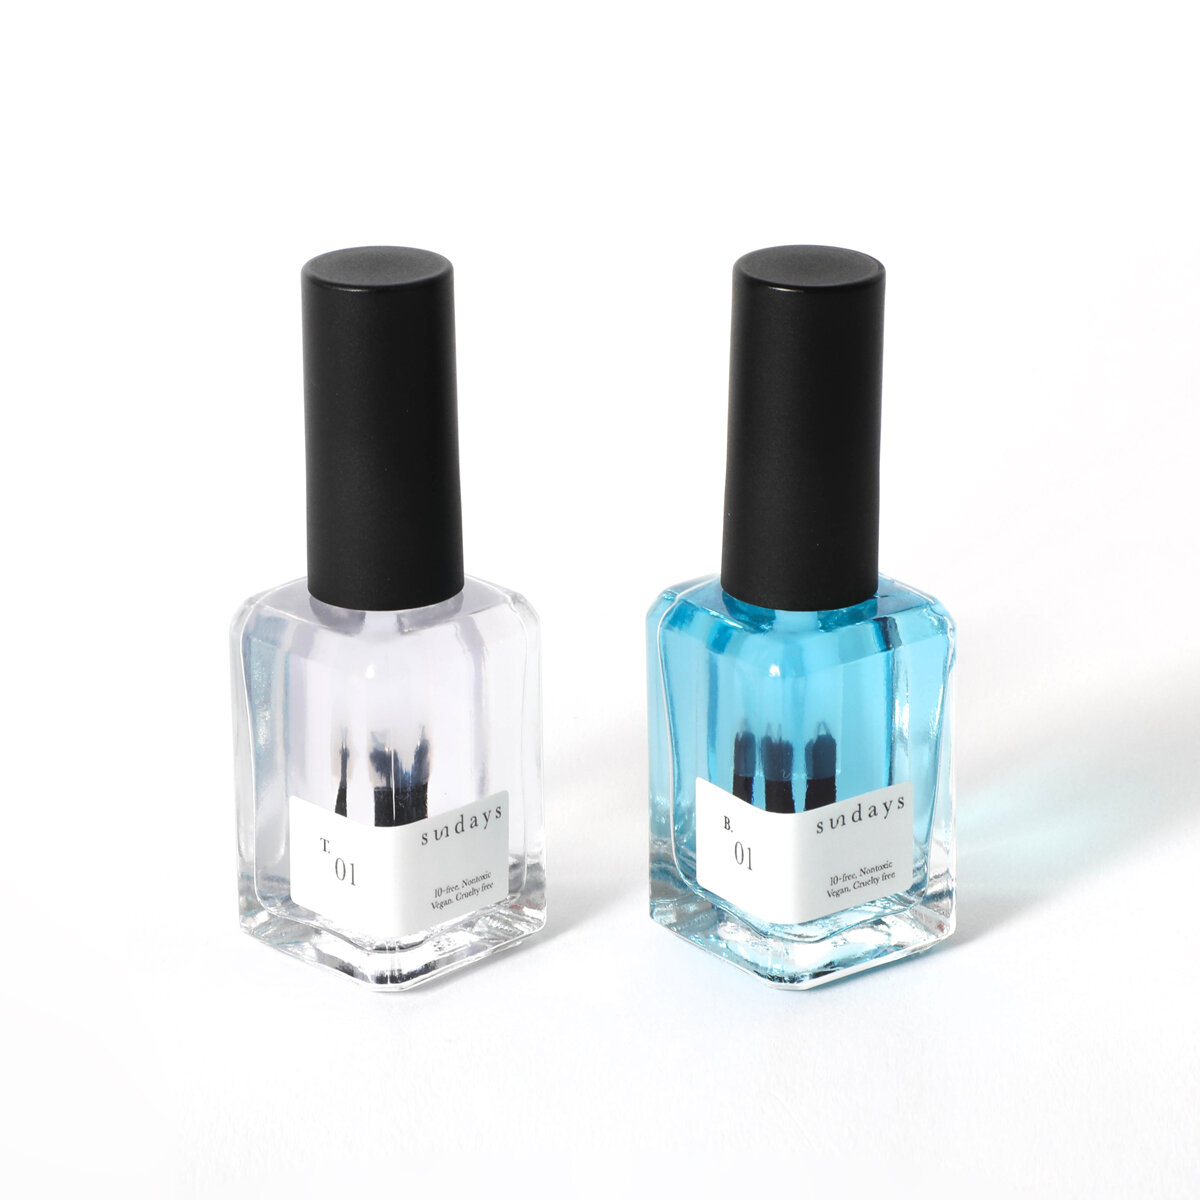
Using the prep pad, thoroughly clean each nail and apply a base coat.
Peel off one gel from the sheet at a time. I like holding it by the tip of the sticker to ensure it stays very sticky by the cuticle part.
As you apply, leave a very small gap between your cuticles and the start of the gel so it doesn’t sit on your cuticle.
Press firmly to smooth out any wrinkles. *Really take your time and make sure to concentrate on the edges & cuticles.
Fold the excess gel over the tip of your nail and wait 30 seconds
Using the nail file in your kit, file downwards at the tip of your nails to remove excess gel. Angle the file away from your nail to avoid tearing the gel & to create a clean edge.
If your nails are short, you can always use a nail clipper before you file.
After filing and removing the excess, press down firmly on your gels to smooth them. This will extend the life of your manicure, so really take your time.
Apply a top coat and add a bit more over and under the tip of your nail to extend wear.
It may seem like a lot of steps but I wanted to be as specific as possible. This should take you under 10 minutes!
How to remove your ManiMe set:
Simply peel them off whenever you’re ready. So easy!
I’m fully obsessed and would order these over and over again. ManiMe comes out with two new collections a month. So there are always new colors and designs to choose from. I also need to mention their customer service is incredible!






![Summertime and the livin’ is easy ☀️ [AD] @smartwater is making our summer hydration choices really easy with their 15 pk 1L now available at @Costco! I love how refreshing it is after my workout! Find Smartwater at your closest Costco! Stay hy](https://images.squarespace-cdn.com/content/v1/5b2018b029711470abb4a9e0/1661203980121-LDZ88TWTVEGWU3NMWWOZ/image-asset.jpeg)


